Getting the Heat Right for Glass R&D
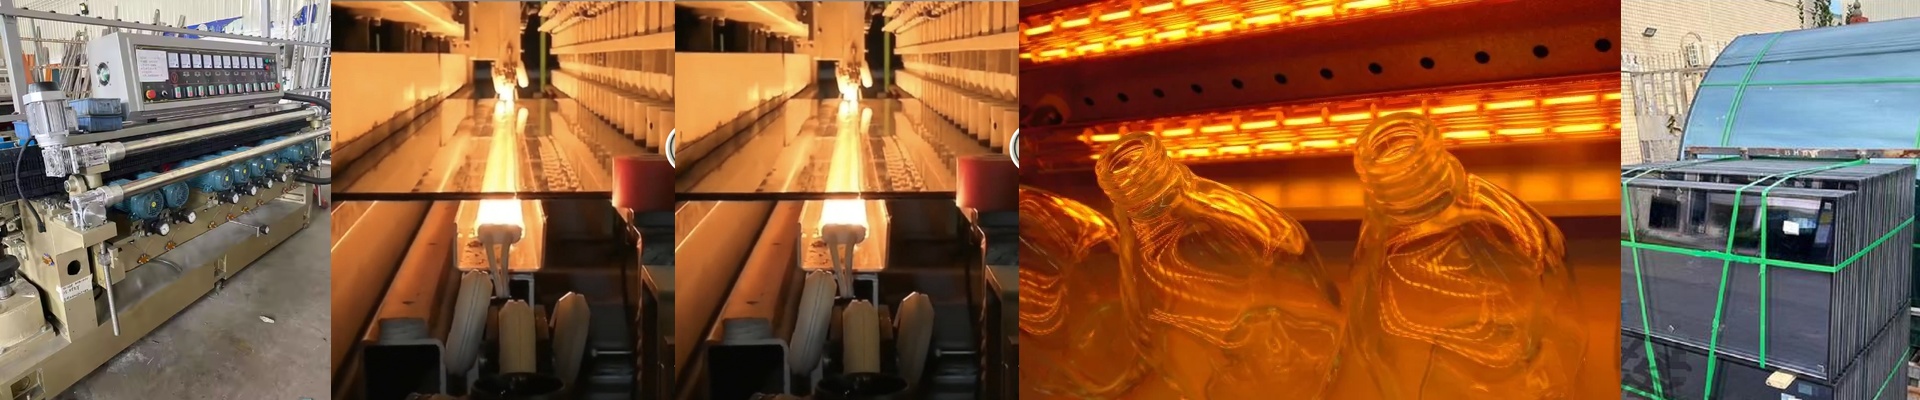
Here’s the problem with most off-the-shelf lehrs: they’re built for mass production. They give you a nice, uniform heat, which is great for making a thousand of the same thing. But when you’re in the lab playing with new glass compositions? Uniform is actually the enemy. To really push the boundaries of a new material, you need to play with the thermal gradient. You can’t just change the size of the heater and hope for the best. You have to get surgical with the power density. The trick is in the mapping. Instead of a flat power profile, we look at the wattage per linear centimeter. It’s all about controlling exactly where the heat hits. If you’re working with a material that has a tiny annealing window, a generic heater is a nightmare. You’ll either miss the mark entirely or, worse, hit it too hard and trigger a thermal shock. By tweaking the filament density, we give you the room to breathe. You can map the heat profile to the glass’s specific transition temperature (Tg) without fighting the equipment. But there’s a catch. When you cram a lot of power into a small space, things get stressful. I’m talking about physical stress on the quartz envelopes. If your airflow isn’t dialed in, those high-density zones are going to burn out fast. Plus, if your cooling blowers aren’t up to the task, you’ll end up with a warped housing. It’s a balancing act. Why bother with all this? Because it turns your lehr into a legitimate tool for science, not just a piece of factory gear. You can test different cooling rates just by swapping out the heating elements. No need to rebuild the whole system. It saves you from those endless weeks of trial-and-error. You get the data on internal stress and refractive index quickly, and you get back to the actual research.