
Keeping Your Bathroom Heater from Becoming a Hazard
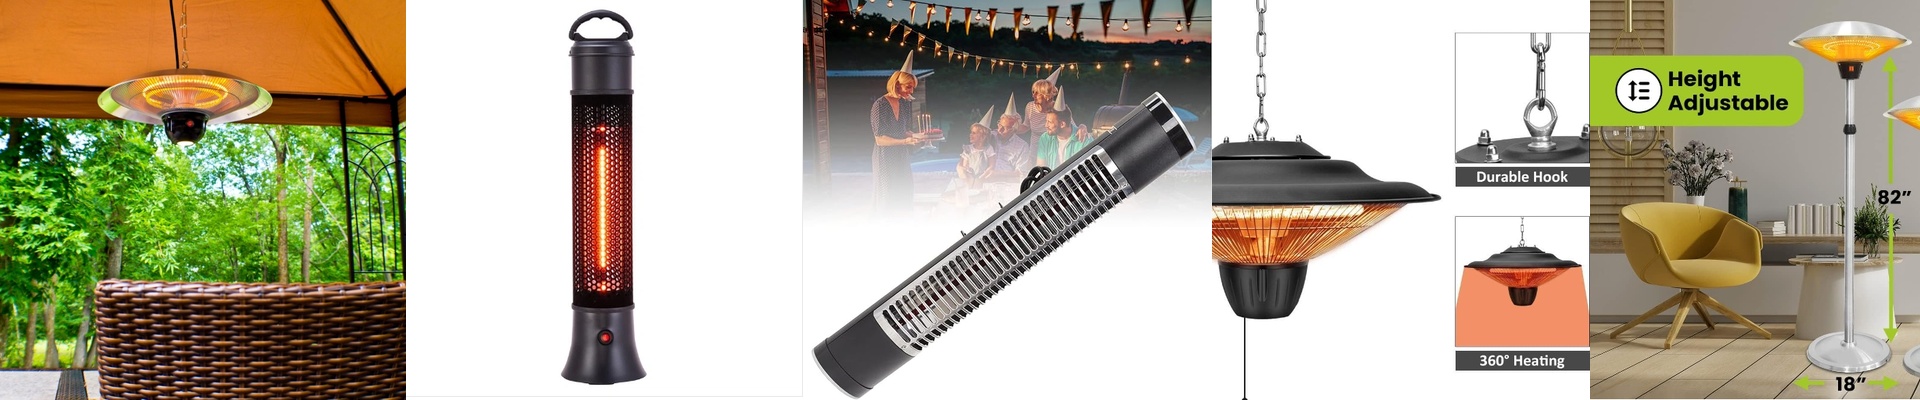
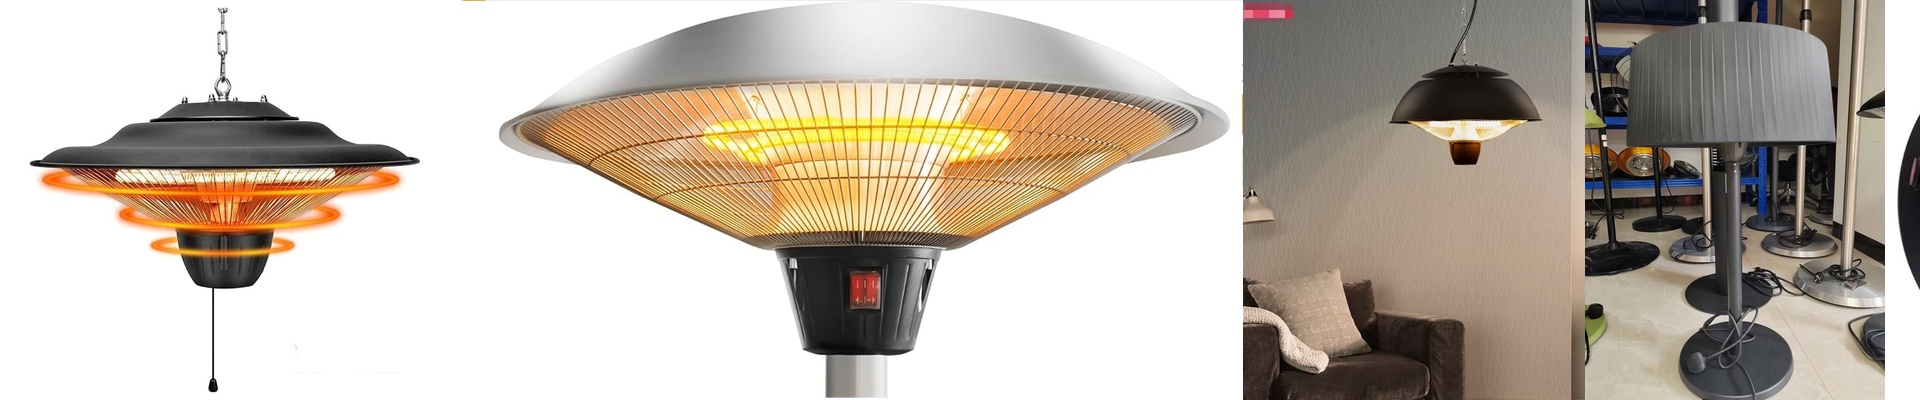
Putting infrared heaters in a bathroom or a wet pergola is a bit of a battle. You’re basically fighting a constant war against steam and moisture. One tiny gap in your insulation, and you’ve got a short circuit or a ground fault on your hands. Not exactly the vibe you want when you’re trying to relax in a warm shower. To stop that from happening, we focus on three main things to keep the electricity far away from the outer shell. Stopping the leaks Water vapor is sneaky. It finds its way into standard housings without you even noticing. To kill that problem, we use high-temp silicone gaskets and a bit of epoxy potting right where the wires connect. It basically creates a physical wall. We aim for strict IP ratings because if that seal gives way, moisture hits the live terminals and your RCD trips instantly. Nobody likes a dead heater mid-winter. Choosing the right stuff We don’t mess around with the materials. We use double-insulated cabling and reinforced polymer brackets. Why? Because if the internal insulation fails, a metal bracket becomes a conductor. By using non-conductive hardware, we just remove that path to ground entirely. We also put a special dielectric coating on the ends of the quartz tubes. This stops “tracking,” which is just a fancy way of saying it prevents moisture from creating a little electric bridge across the insulator. The tricky part: Heat vs. Sealing Here’s the catch. Tight seals are great for keeping water out, but they’re a nightmare for heat. If you seal everything up too tight without a proper thermal vent, the inside of the lamp starts to bake. If it gets too hot, your wire insulation starts to degrade. Then you’ve got a burnout. It’s a balancing act—you need the unit sealed against the steam, but it still needs to breathe. And for peace of mind? Just wire the whole thing into a dedicated GFCI. That way, if something does go wrong, the power cuts out in a fraction of a second. Safe, warm, and simple.